
If you are working with old seed you can do a simple viability test before sowing. Use a damp paper towel, lay ten seeds onto one-half of the towel, fold the other half over, and keep moist. Watch for the development of the radicle; the number of seeds that germinate will give you a rough percentage of viabilty of your seed.
Fill your containers with the seed starting mix to within about one half inch of the top, and moisten it thoroughly. Press it down in the containers to eliminate air pockets. The soil mix should be very solidly packed into the container; this is really counter-intuitive, but the seed and soil need to be almost ‘as one’.
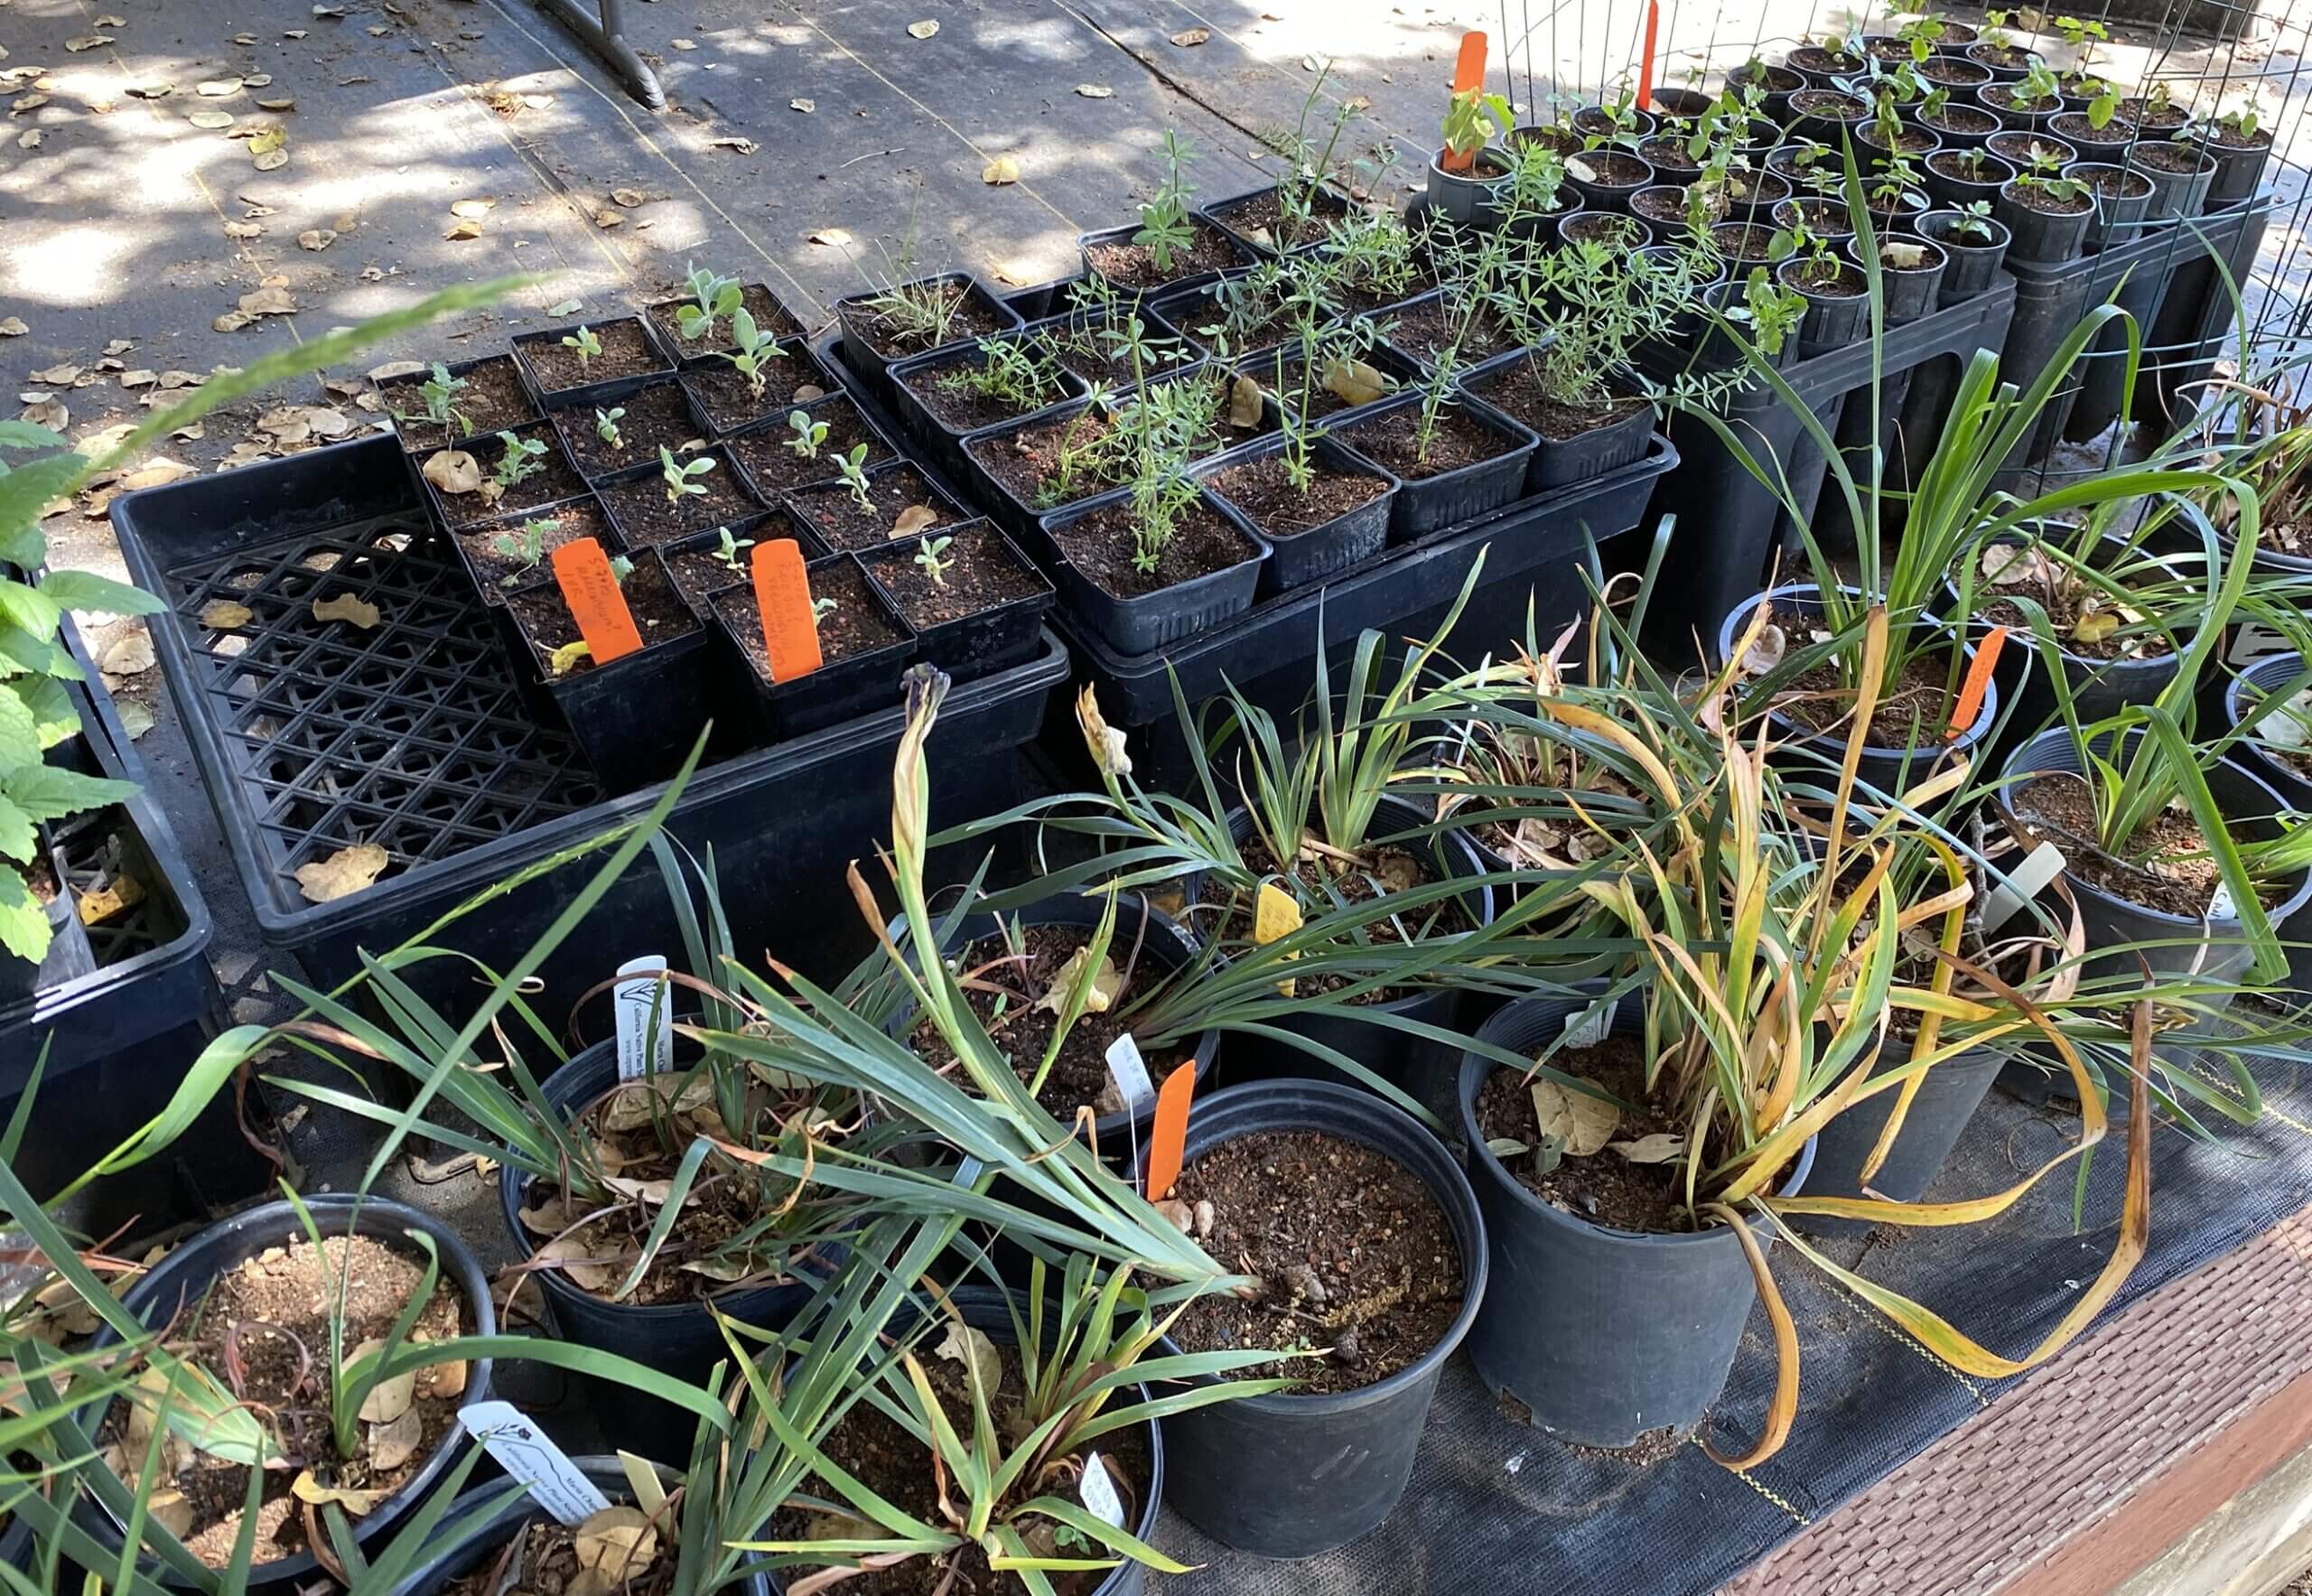
If you are sowing multiple species in one seed flat you can separate them with a bamboo stake. Label each different species, and make sure that all the species sown together have compatible germination requirements.
A rule of thumb is to plant a seed no deeper that twice its diameter.
The size of the seed equates, in part, to its food reserve; which equates to the distance it can grow before being able to produce its own food. Furrows can be created for large seed; medium seeds can be sown on top of the soil mix. Then cover the soil mix with dry vermiculite to the top of the container, and pack it all down again before watering it in.
When working with really tiny seeds (and these can be like dust) cover the packed in soil with a thin layer of vermiculite, and then sprinkle the seed on top of that on top of the vermiculite; the seeds will settle into the tiny spaces between particles of vermiculite. Then press it all down thoroughly to ensure good seed to soil contact, and water it in.
If you are setting up a seed flat with a cover, under lights and with a heating mat; you are also creating ideal conditions for molds and mildew. After you have watered in your seeds, sprinkle cinnamon on top! Cinnamon is an anti- fungal, and will prevent molds and mildews from forming in the warm, moist conditions. Some growers also use finely milled spaghnum moss as a top-dressing on the seed flat to help prevent damping-off.
Water your seed flat every day, the soil medium needs to be kept moist, but be careful to avoid soggy conditions. I keep bottles of water around, and allow the time to out-gas the chlorine that is present in all city water. I use a bottle-top sprinkler, and always water seeds and seedlings with water at ambient temperatures. Then watch and wait for the excitement of germination ! Once you’ve started the process you will have to pay attention to your seeds every day.
RECORD KEEPING
It is important to label the seeds you have sown in each container. The label can simply state the common or botanical name, and the date sown. It makes a lot of sense to keep a notebook with more extensive records of what you’re propagating, and the results; so that you have a reference of successes and failures to guide future propagation projects.
Noting the following helps to create a body of knowledge:
- Botanical name, and when and how the seed was acquired note if the seed is old – and if you did a viability test
- Date when the seed was sown
- Conditions the seed has been sown in;
soil mix ( if it’s different than your standard )
inside or outside ?
lid or covering over the seed flat ?
bottom heat ?
gro-light ? and if so how many hours of light ? - Note the date of the first germination
note whether it is scant, just one or two seedlings
note if germination occurs over a period of time - Note the date when the first true leaves appear
- Note the date if and when you thin the seedlings
- Note the dates of progressive transplants
note the numbers of seedlings you transplant
TRANSPLANTING
Once all the seeds in the container have germinated, and have the first pair of true leaves, you can decide to thin them, and let them grow in the original container for a while longer, or to transplant them into individual containers. If you are going to thin them, choose the healthiest looking seedlings, and snip the others off at the soil line with a pair of fine scissors. Pulling the unwanted seedlings out can damage the root system of your chosen seedling.
Roots and shoots need to grow in harmony, and transplanting is most effective when there is obviously vigorous growth. When you’re going to transplant, choose the smallest container that the seedling will fit into without over-crowding the root system. Two inch pots are a fine size for many seedlings; use the appropriate soil mix, and once the seedlings are settled and visibly growing, you can use a liquid fertilizer if you want to. Setting two inch pots on a capillary mat really helps to maintain constant and even moisture for the seedling. You can saturate the mat, and cut down on the watering at the surface.
Always work in the shade when transplanting, and take great care not to leave the roots exposed to the air. Fine hair roots die within minutes when exposed to drying air. Use a knife or skewer to prick out the seedlings, and handle them very gently by the true leaves.
Never handle a seedling by the stem; this is the life-line, and too easy to damage. Transplant the seedling to the same depth it grew at originally. Be sure to gently, but firmly, pack the soil in around the root system to avoid air pockets. Water very soon after transplanting, and use a really gentle spray. The water should be at the ambient temperature.
Try not to change the conditions the seedling was growing in too dramatically all at once. If the seeds were started on a heat mat, try to gradually transition them off it. You can start by reducing the number of hours that the heat mat is on, and then eventually remove it, and transition the seedlings to the outdoors in a protected place.
Keep newly transplanted seedlings in a shady place for at least a few days. You may need to protect them from predation by snails and slugs, and possibly also rodents and birds. Cloud cover fabric, laid loosely over the seedlings, but tucked securely under the flat or pots works well as long as you’re sure that the water also passes through to the soil. When the seedlings have ‘settled in’, and once they are up to a 4” pot size, you can gradually move them into the appropriate exposure for the species. I like to use a cold frame to help transition the seedlings I start indoors. Regular fertilization will help assure good growth, and with some species you may need to pinch back the growing tips to create a better form.
If a seedling lingers, a mycorrhizal innoculant might help to stimulate vigorous growth. This is especially true of many of our native plants, which have complex symbiotic relationships with soil organisms. A bit of good garden soil can also provide innoculants.
Seedlings need to be ‘hardened off’ before being planted outside in the garden. Do this by moving them outside during the day for gradually longer periods over the course of about a week. Towards the end of that period of time, given that the weather is mild, they can be left out overnight, and then planted into the ground.
Some tender seedlings will benefit from ‘ hot-caps’ at night for the first week or so in the garden. Other seedlings may need a shade cover for the first few days until they establish, especially if the weather is very hot. To protect them from snails and slugs, surround the seedlings with crushed oyster shell; the surface is too rough for the snails and slugs to crawl over. The oyster shell is also a source of calcium that can be worked into the soil.
The whole process requires just a little bit of attention every day, but your efforts will be richly rewarded with a garden full of beautiful, and sometimes, rare and unusual plants ! Utilize references for propagation tips on species that are new to you, and check your own records to use past experiences as a guide.
If you get infected by the ‘propagation bug’ you will want to experiment; developing your own most suitable methods for successful plant propagation. Do not be afraid to try a new species or a different approach; there is a depth of knowledge and many potential plants to be gained, and sometimes just a little effort lost!