

At the end of the dry season my garden is just that; at a glance many of the native plants look dry and dead but once you look more closely, there’s always a bit of green within the brown. Plants are dormant, but definitely not dead; seeds are abundant, as are all the creatures coming to the garden to partake in this abundance.
Goldfinches come for the tarweed seeds, each plant with a flock of five or six birds taking the small flat seeds from each spent flower. Bushtits, most always in a flock of course, make their way from one side of the garden to the other, working over one shrub, then on to the next closest, and so on, carefully inspecting both the top and the bottom of leaves, flowers and seed heads as they forage for tiny insects. The Golden-crowned Sparrows are back in Marin, busy practicing their songs and doing the sparrow doublescratch, which brings up seed for them to eat and helps those they miss get properly planted.
This is also a great time to start native perennial plants from seed. I’m pretty much a self-taught propagator, with years of trial and error helping me to learn valuable skills, tricks, and techniques. Keeping records of both success and failures has helped me amass a body of knowledge on specific approaches to propagating individual native species.
One of the best approaches to figuring out how to propagate a certain species is to think like nature. Take some time throughout the year to carefully observe the growth habits of a species that you might like to propagate, and then think about what happens to the mature seed that encourages it to germinate, take hold, grow, and hopefully thrive in a new location away from the parent plant.
The shorter, cooler, and moister days coming with the rainy season are the time when many of our native plants do a lot of their growing, and a time when many seeds will germinate. That time is right now, but there are two common mistakes that lots of people make when propagating. First: the soil mix is too loose in the container, and second: the seed is sown too deeply. I like to make my own seedling soil mix using equal parts of perlite, vermiculite, peat moss, and worm castings. All ingredients should be moist but not soggy when mixing and working with it. Then, I pack it tightly into sterilized 4-inch square nursery pots up to about ½ inch from the top. Be sure to really tamp it down so it feels solid, not loose, in the pot, and then scratch the surface lightly. Use one pot for one species only, and be sure to label it!
A basic rule of thumb when working with seeds is this: cover them no more than about twice the diameter of the seed. That not hard to do with large seeds, like sunflowers, but can be hard to determine with really small seeds, like some of the salvias and penstemons, and even harder when the seed is dust-like, as in heuchras, monkeyflowers and tellimas.
With small seeds, I scatter them on top of the scratched surface and cover it with a thin layer of perlite or vermiculite, then press it all down firmly for good seed-to-soil contact. With dust-like seed, I cover the soil surface with a thin layer of perlite or vermiculite first, and then sprinkle the seed. The seed will fall down into all the small spaces in the covering material, just remember to press it all firmly in—and don’t do this outside on a windy day! Then, water it in with a very light spray and watch for germination.
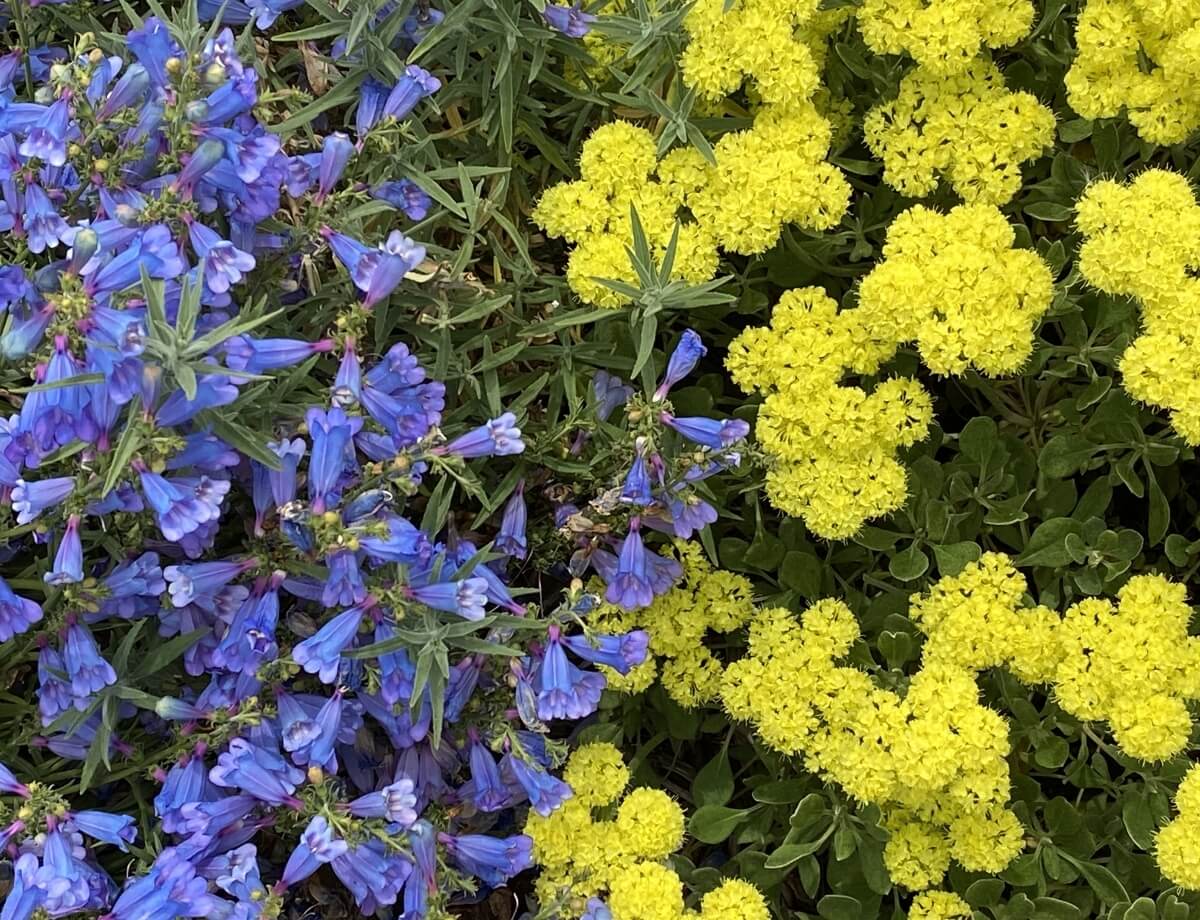
Foothill penstemon with yellow sulphur buckwheat. Photo: Laura Lovett
Foothill Penstemon (Penstemon heterophyllus) is very tolerant of many garden conditions; it needs full sun and minimal water when established. Foothill Penstemon grows naturally in chaparral and forest openings in the coast ranges, and at lower elevations in the Sierra. A few years ago, while exploring the forest roads through Mendocino National Forest, my husband and I came upon a recent road cut where the steep slopes on either side had been colonized by this penstemon. It was a memorable and breathtaking spectacle!
The seed is small, but needs no pre-germination treatment when sown outside in early fall. I set my seed pot outside in a somewhat shady and protected place, and usually see germination beginning in about a month. Within another two months or so, the seedlings will be large enough to transplant to individual pots.
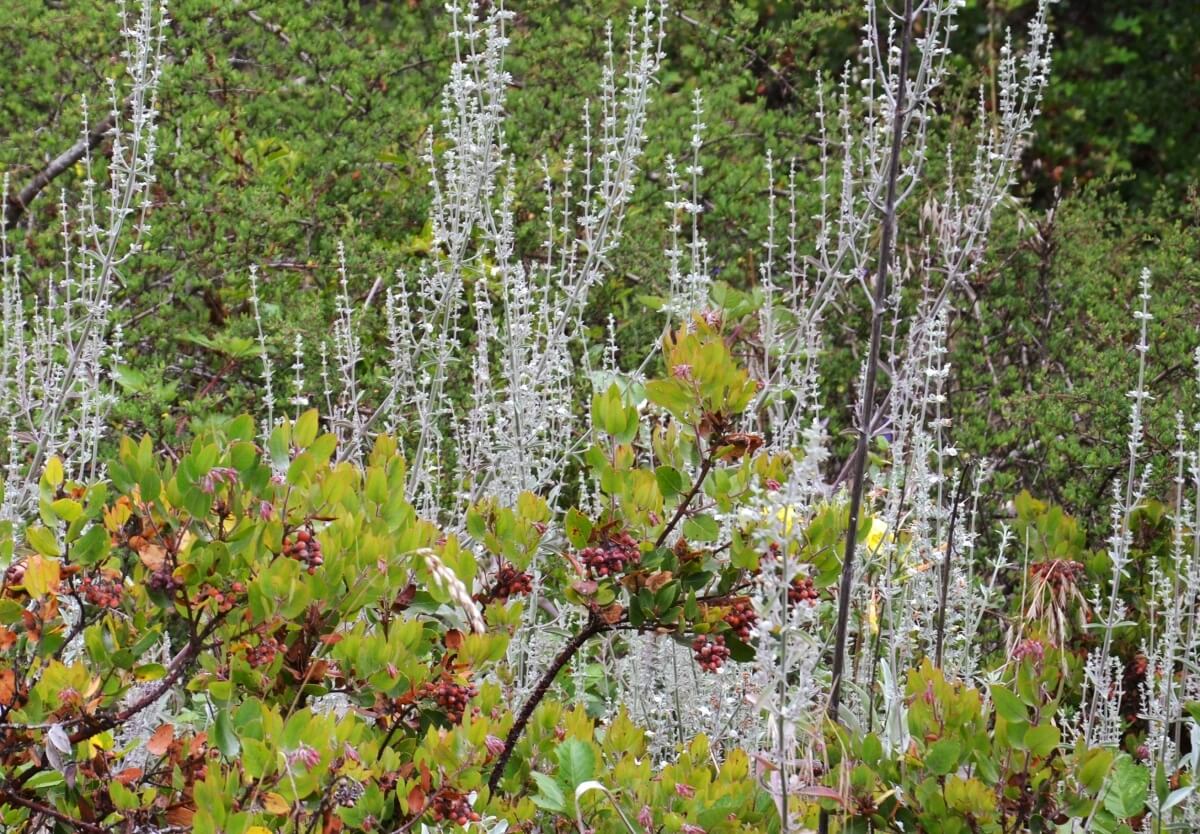
Stalks of white sage bloom behind a hedge of manzanita. Photo: Pete Veilleux
White Sage (Salvia apiana) is a strikingly beautiful shrub with very aromatic leaves and flowers that, though small, are profuse and loved by the bees. It’s a plant native to the much drier, hotter chaparral of Southern California. Fires were once a natural occurrence and re-generator of life in these areas. Many chaparral plants can be burned to a stump, but new growth appears again once the rains come. The fires also helped to create a mineral-rich seedbed and reduce competition, allowing the seed bank in the soil to germinate.
As propagators we can duplicate some of these conditions by pre-soaking the seed with a smoke paper. (Smoke papers can be purchased at www.seedhunt.com.) I put a section of the paper in a small bowl, add my seeds, and soak it all in warm water for about 24 hours. Then I sow the seed in a container outside. Germination occurs in about 4 to 6 weeks, and seedlings are ready to transplant in another two to three months. Seedlings are susceptible to over-watering, but once they really take hold, they grow fast and will be a mature shrub in about a year.
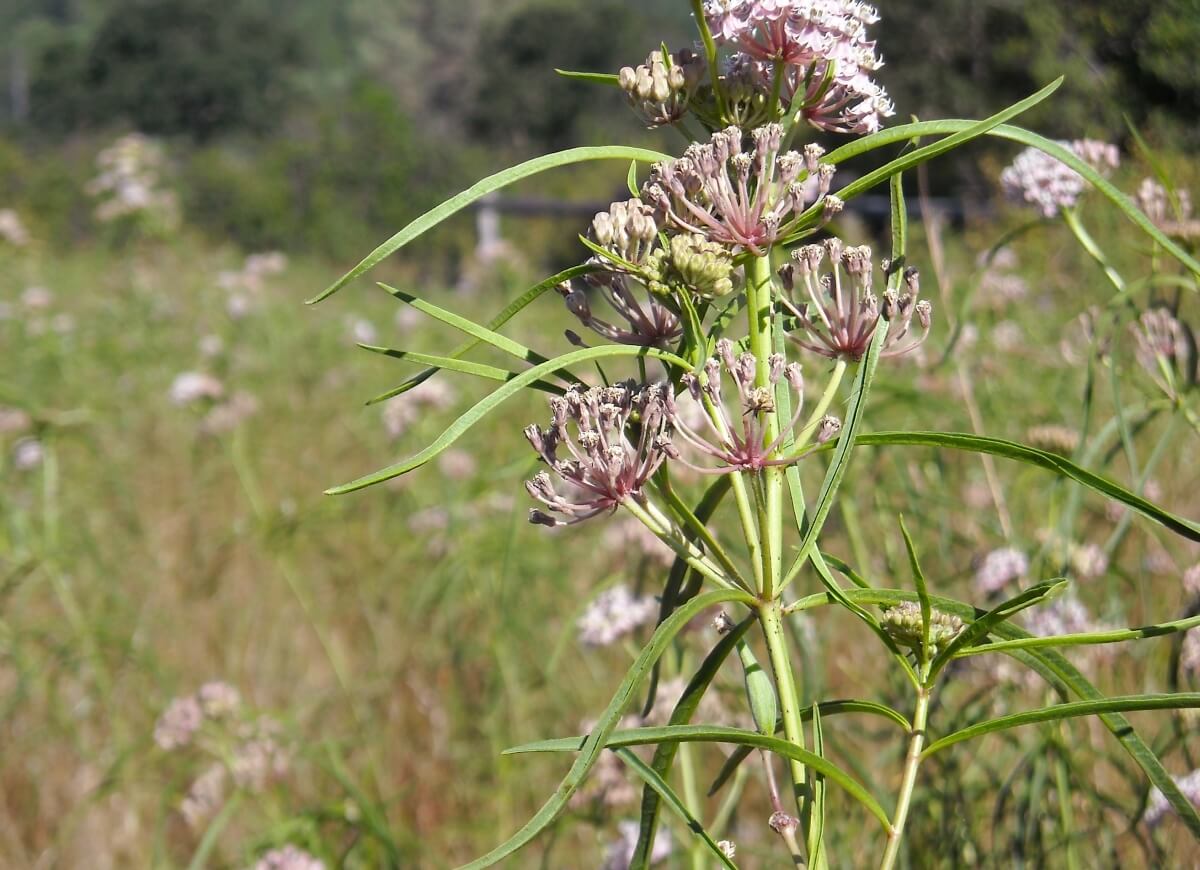
Narrow-leaf milkweed growing in the wild.
All of us need to think about re-establishing stands of milkweed plants, which are literally the lifeblood of the Monarch Butterfly. Both Narrow-leaf Milkweed (Asclepias fascicularis), and Showy Milkweed (Asclepias speciosa) are relatively easy to start from seeds. The trick is to pre-soak the seed in warm water for about 3 or 4 hours before sowing them. The seeds are a good size, but flat, so the best technique is to gently scratch them into the soil mix just a little, then cover them with vermiculite, and tamp them down.
These species germinate more readily in a controlled indoor situation. I use a grow-light set for 12 hours a day initially, and a bottom heat mat which keeps the soil temperature at about 70 degrees. Germination starts to occur within 4 or 5 days, increasing over the next week or so. The Narrow-leaf Milkweed is faster and easier than the Showy, and is also the better plant both for the Monarchs, and for a garden situation.
Within a month or so, the true leaves have developed, and when the seedlings are about 3 inches tall with a nice sturdy stem and several sets of leaves, they can be transplanted. We use long thin pots, sometimes called “liners” for the first transplant, and taller, narrow pots for the more mature seedlings, too. This style of container allows a really good root system to develop. You will have healthy, vigorous plants ready to go into the ground in about nine months.